When upgrading to a new iPhone, it’s important to transfer both data and the SIM card. The SIM card ensures network connectivity and stores contacts. Quick Start helps with data transfer, but don’t forget to physically move the SIM card to the new iPhone for full functionality. If you’re unsure How to transfer your SIM card to a new iPhone, don’t worry. This guide aims to offer you step-by-step instructions that are essential for your understanding and implementation. Additionally, I’ll also explain How to transfer the SIM card to the new iPhone 14 using eSIM. Let’s dive in and learn the process together.
Table of Contents
How to Transfer SIM Card to New iPhone.
Transferring your SIM card from an old iPhone to a new one is typically straightforward by inserting the SIM card. However, with the iPhone 14 model in the United States, there may not be a physical slot for the SIM card. Instead, the line provisioning is done using an eSIM.
To transfer your SIM card to a new iPhone 14/13/12/11 with a SIM card tray, refer to the steps for the solution.

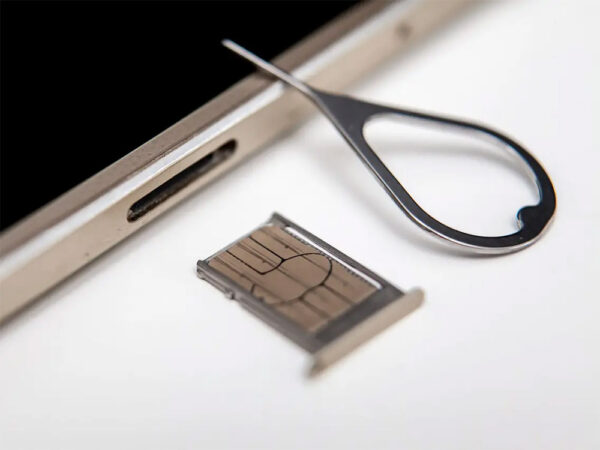
To transfer the SIM card from your old iPhone to the new one:
- Locate the small hole beside the SIM card tray and gently insert the SIM-eject tool or an unfolded paper clip into it. Apply gentle pressure without forcing it.
- Carefully pull out the tray from the device once it pops out.
- Remove the SIM card from the tray.
- Insert the tray with the SIM card into the new iPhone, ensuring it is aligned properly.
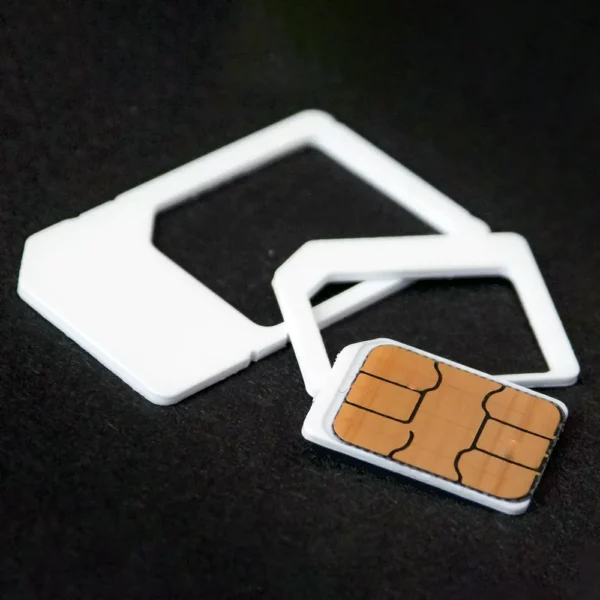
SIM cards are available in three different sizes: standard, micro, and nano. These various sizes cater to different device requirements, ensuring compatibility with a wide range of devices. It’s crucial to ensure that the SIM card you have will fit the slot on your new iPhone. If the SIM card is too big, you can use a SIM card cutting tool to trim it down to the correct size for your iPhone.
Learn How to Transfer Contacts from iPhone to iPhone with Contact Transfer on PC.
Transferring contacts from iPhone to iPhone can be done using various methods. One option is using Contact Transfer, a tool available for Windows 10 or 11 users. This method allows you to securely transfer contacts between devices without the need for online sync methods like iCloud. It doesn’t involve backups or restores, minimizing the risk of data loss.
![]()
To transfer contacts from one iPhone to another using Contact Transfer, follow these steps:
- Download and install Contact Transfer on your PC, and then launch the program.
- In Contact Transfer, select “iOS Device” as both the Source and Destination options, and click on “Continue.”
- Connect both of your iPhones to your computer using USB cables.
- Once the iPhones are detected by Contact Transfer, click on “Continue” to proceed.
- Browse the contacts stored on the source iPhone within Contact Transfer. You can select all contacts by ticking the “All” option or manually choose individual contacts by clicking on the checkbox next to each contact.
- After selecting the desired contacts, click on “Transfer” to begin copying the selected contacts from the source device to the destination device.
- Wait for the transfer process to complete. Once finished, you can find your transferred contacts in the Contacts app on the destination iPhone.
Additionally, Contact Transfer offers some bonus features:
– Creating new contacts and saving them directly to your device.
– Editing existing contacts conveniently from your PC.
– Deleting contacts individually or in bulk.
With Contact Transfer, you can seamlessly copy contacts between iPhones, Android devices, and your PC, making it a versatile tool for managing your contacts.
How to transfer iCloud to a new iPhone via iCloud syncing?
If you have already enabled iCloud for certain apps on your old iPhone, you can turn on iCloud on your new iPhone to automatically sync that data to your new device. This allows for seamless transfer of app data between iPhones.
- To transfer data seamlessly, connect your new iPhone to a Wi-Fi network and sign in to both devices using the same iCloud account. This ensures the synchronization of data between the iPhones.
- Tap on the “Settings” icon to access the iPhone settings menu.
- Next, locate and select your Apple ID, which is associated with your device. From there, choose the “iCloud” option to proceed.
- Toggle the switch(es) to enable backups for specific applications, such as contacts, photos, and more. This allows for the automatic backup of data from those apps.

To transfer data from one iPhone to iPhone click on the link given below:
How to transfer data to a new iPhone?
A crucial suggestion for you:
It is crucial to prioritize your financial goals and carefully evaluate your budget before making a significant purchase like an iPhone. Consider the long-term financial impact and ensure that it aligns with your financial objectives without creating unnecessary financial strain.
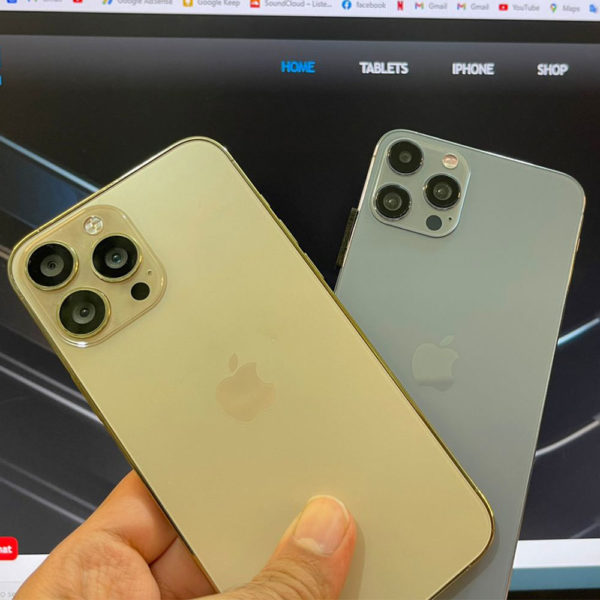
If the original versions of all iPhones are beyond your budget, there are alternative options to consider. One option is to explore warrantied iPhone replicas, which offer affordability and reliability. These replicas are designed to closely resemble the latest iPhone versions. Below, I have provided a list of the best warrantied iPhone replicas:
- iPhone 14 pro max master Copy – A budget-friendly alternative with a reliable warranty.
- iPhone 13 Pro Max American Copy – Offers similar features at a more affordable price point.
- iPhone 15 Pro Max Master Copy – Combines the compact design of the iPhone with enhanced features.
- iPhone 14 pro max master Clone – An affordable option with a large display and powerful performance.
- iPhone 15 Pro Max American Copy Price in Pakistan – Provides a balance of cost-efficiency and functionality.